

kremalicious
The whole blog is a React-based Single Page App built with Gatsby v2.
🎆 EXIF extraction
Automatically extracts EXIF metadata from my photos on build time. For minimal overhead, fast-exif parses every JPG file upon Gatsby file node creation and adds the extracted EXIF data as node fields.
This way, EXIF data is only extracted at build time and can be simply queried with GraphQL at run time.
In the end looks like this, including location display with pigeon-maps:

If you want to know how this works, have a look at the respective component under
src/components/atoms/Exif.jsx- the EXIF node fields creation
gatsby/createExifFields.jsrunning ingatsby-node.js
💰 Cryptocurrency donation via Web3/MetaMask
Lets visitors say thanks with Bitcoin or Ether. Uses web3.js for sending Ether transactions via MetaMask, Brave or Mist. Component listens to account & network changes and adapts accordingly.
As a fallback, QR codes are generated with react-qr-svg from the addresses defined in config.js.

If you want to know how this works, have a look at the respective components under
src/components/Web3Donation/index.jsxsrc/components/Web3Donation/Account.jsxsrc/components/Web3Donation/InputGroup.jsxsrc/components/Web3Donation/Conversion.jsxsrc/components/Web3Donation/Alerts.jsxsrc/components/Web3Donation/utils.jsxsrc/components/atoms/Qr.jsx
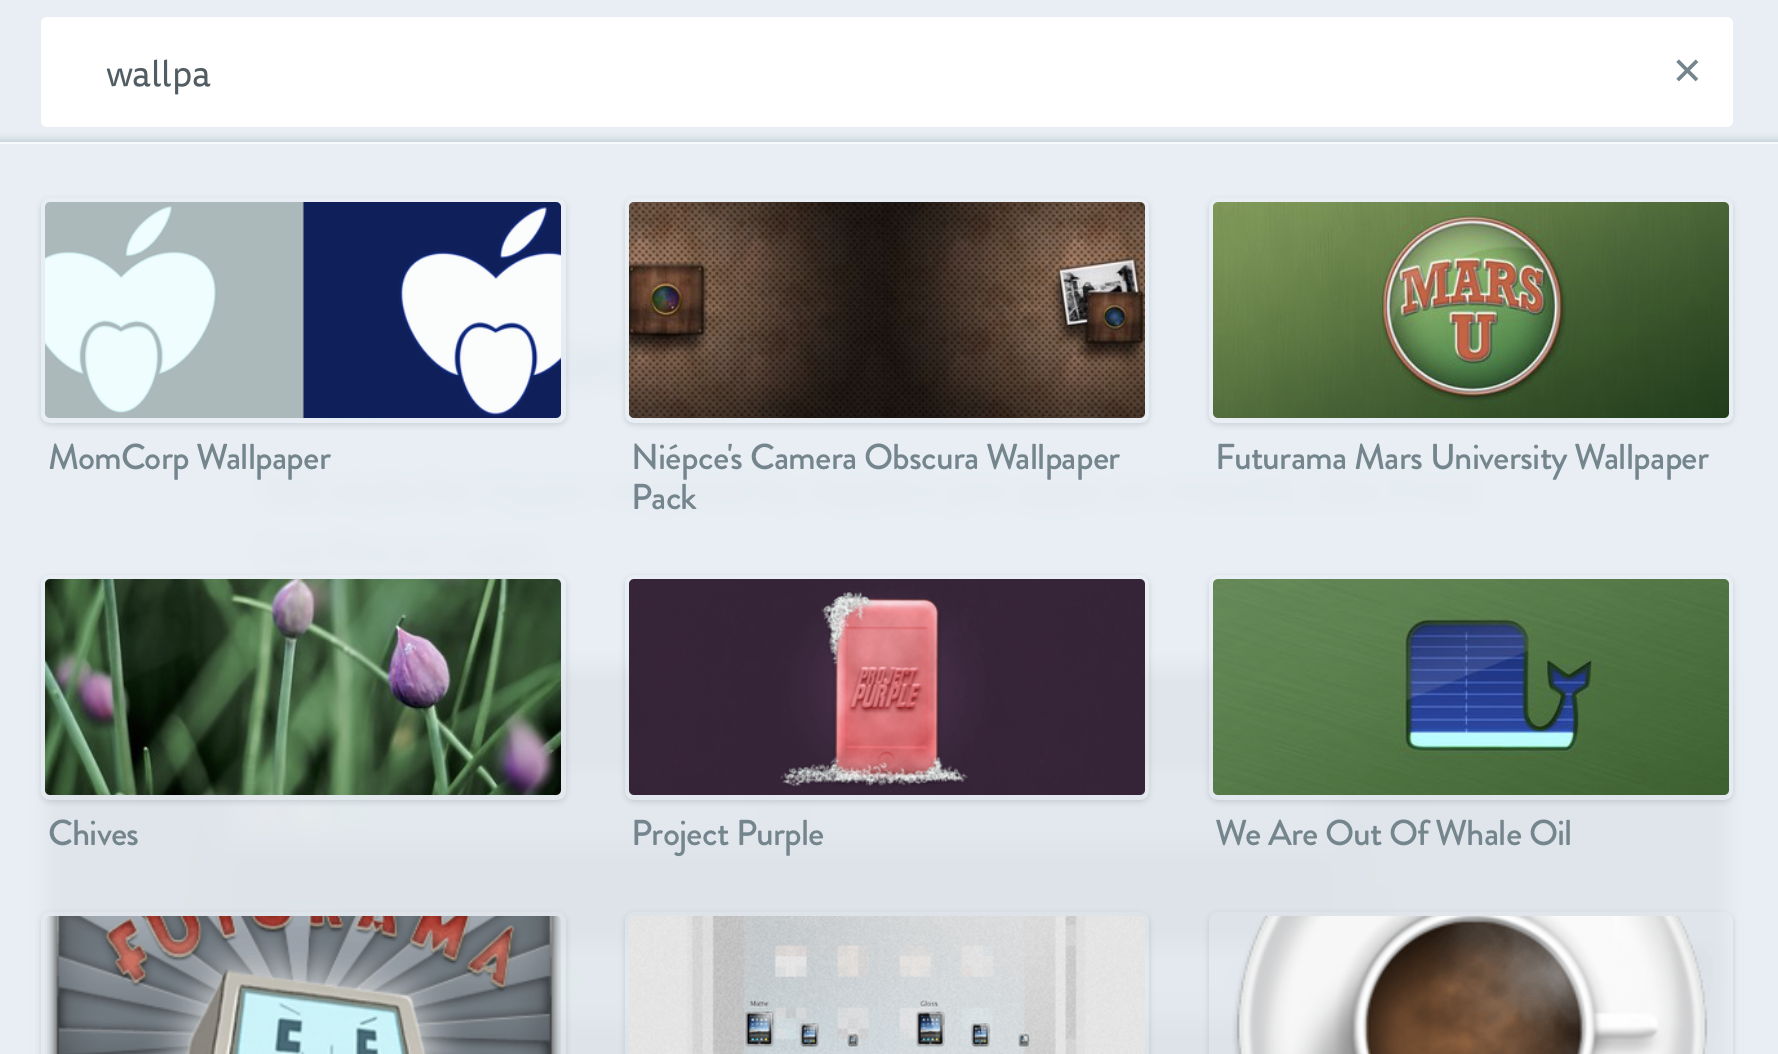
🔍 Search
A global search is provided with gatsby-plugin-lunr. That plugin creates a Lunr search index file of all posts on build time which is then queried against when the search field is used.
If you want to know how this works, have a look at the respective components under
src/components/Search/Search.jsxsrc/components/Search/SearchResults.jsx- more in
src/components/Search/
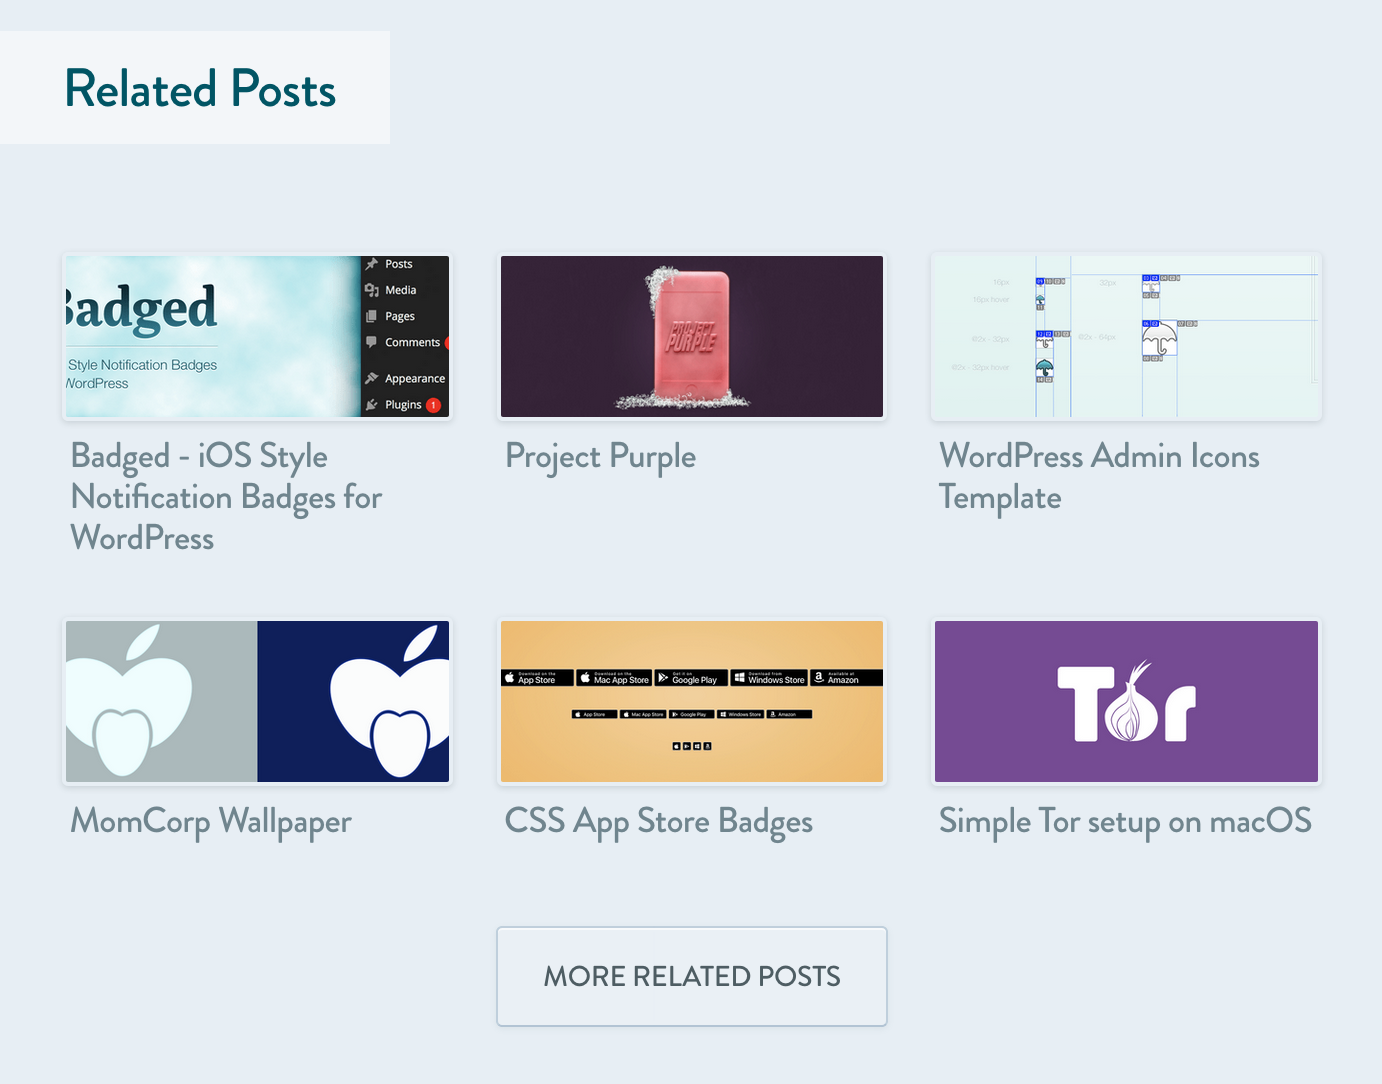
🕸 Related Posts
Under each post a list of related posts is displayed which are based on the tags of the currently viewed post. Also allows loading more related posts in place.
If you want to know how this works, have a look at the respective component under
📝 GitHub changelog rendering
Adds ability to show contents of a changelog, rendered from a CHANGELOG.md on GitHub from the given repository. The use case is to enhance release posts about projects hosted on GitHub. Makes use of the GitHub GraphQL API via gatsby-source-graphql.
Adding this to a post's YAML frontmatter:
changelog: gatsby-plugin-matomo
will render this at the end of the post:
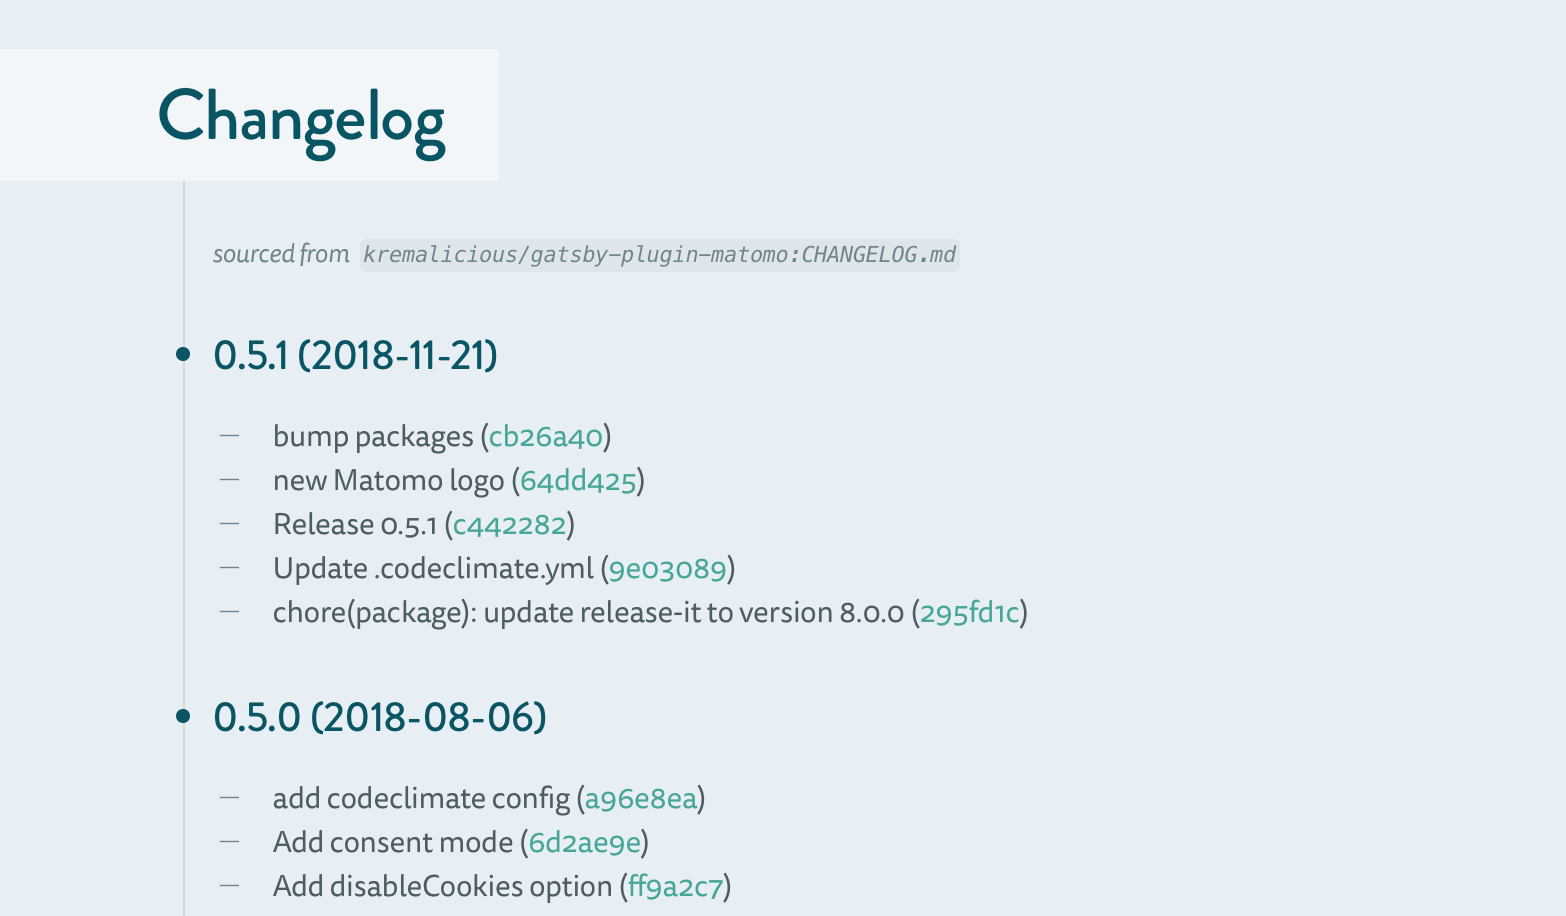
See it live on Matomo plugin for Gatsby.
If you want to know how this works, have a look at the respective component under
🏆 SEO component
Includes a SEO component which automatically switches all required meta tags for search engines, Twitter Cards, and Facebook OpenGraph tags based on the browsed route/page.
If you want to know how this works, have a look at the respective component under
📈 Matomo (formerly Piwik) analytics tracking
Site sends usage statistics to my own Matomo installation. To make this work in Gatsby, I created and open sourced a plugin which is in use on this site.
gatsby-redirect-from
💎 Importing SVG assets
All SVG assets under src/images/ will be converted to React components with the help of gatsby-plugin-svgr. Makes use of SVGR so SVG assets can be imported like so:
import { ReactComponent as Logo } from './components/svg/Logo'
;<Logo />
🍬 Typekit component
Includes a component for adding the Typekit snippet.
If you want to know how this works, have a look at the respective component under
✨ Development
You need to have the following tools installed on your development machine before moving on:
Then install dependencies and start everything up:
npm i

# GITHUB_TOKEN is required for some parts
cp .env.sample .env
vi .env

npm start
🔮 Linting
ESlint, Prettier, and Stylelint are setup for all linting purposes:
npm run lint
To automatically format all code files:
npm run format
npm run format:css
👩🔬 Testing
Test suite is setup with Jest and react-testing-library.
To run all tests, including all linting tests:
npm test
All test files live beside the respective component. Testing setup, fixtures, and mocks can be found in ./jest.config.js and ./jest folder.
For local development, run the test watcher:
npm run test:watch
🎈 Add a new post
npm run new "Hello World"
npm run new "Hello World" 2017-12-27
npm run new "Hello World" photo
npm run new "Hello World" photo 2017-12-27
🚚 Deployment
Automatic deployments are triggered upon successful tests & builds on Travis:
- push to
masterinitiates a live deployment - any Pull Request, and subsequent pushes to it, initiates a beta deployment
The deploy command simply calls the scripts/deploy.sh script, syncing the contents of the public/ folder to S3:
npm run deploy
The deploymeng script can be used locally too, the branch checks are only happening for Travis builds, allowing to deploy any branch from local machine.


