

Gatsby Starter: Mate
A portfolio starter for Gatsby integrated with Contentful CMS.
The target audience are developers 💻 and tech writers ✍️.
Why?
In case you are looking for a quick setup portfolio or upgrade your current, you have to definitely try Mate!
This starter is totally content based on Contentful, which is a headless CMS where you can write the content for your page. In summary, Contentful is the Model when Gatsby with React is the View.
At the same time, as this portfolio is written with Gatsby is extremely easy to add more than one source of data! For example, the demo comes with an integration of Medium posts based on a user name ✌️
Features
- Gatsby v2
- Rebass 3.0 🎉: styled component system
- React Reveal
- Dynamic content from Contentful
- Offline support
- PWA ready
- SEO
- Responsive design
- Icons from font-awesome
- Netlify Deployment Friendly
- Medium integration
- Social sharing (Twitter, Facebook, Google, LinkedIn)
- Developer tools:
- eslint
- prettier
- Google Analytics
How to start ▶️
If you never used Gatsby before, I highly recommend you to Set up your development environment!
To copy and install this starter run this command:
$ gatsby new mate-portofolio https://github.com/EmaSuriano/gatsby-starter-mate
At this point you have the repository download with all the dependencies installed, but if you try to start by running yarn develop you are going to received this message in the console:
TypeError: Expected parameter accessToken
This is because you didn't specify from which Contentful space the portfolio will take the information. So the next step is create an empty space in Contentful!
After the space is created, run the following command:
yarn setup
This CLI will request 3 values:
Space IDContent Delivery API - access tokenPersonal Access Token
These 3 values are inside the Settings section --> API keys.
After you provide them the CLI will automatically starts copying all the Content models and Contents from mate-demo-contentful to your space ✨
If everything went smooth you should see something like this in your terminal:
Writing config file...
Config file /Users/my-user/Git/test/mate-portofolio/.env written
┌──────────────────────────────────────────────────┐
│ The following entities are going to be imported: │
├─────────────────────────────────┬────────────────┤
│ Content Types                   │ 3              │
├─────────────────────────────────┼────────────────┤
│ Editor Interfaces               │ 3              │
├─────────────────────────────────┼────────────────┤
│ Entries                         │ 8              │
├─────────────────────────────────┼────────────────┤
│ Assets                          │ 6              │
├─────────────────────────────────┼────────────────┤
│ Locales                         │ 1              │
├─────────────────────────────────┼────────────────┤
│ Webhooks                        │ 0              │
└─────────────────────────────────┴────────────────┘
 ✔ Validating content-file
 ✔ Initialize client (1s)
 ✔ Checking if destination space already has any content and retrieving it (2s)
 ✔ Apply transformations to source data (1s)
 ✔ Push content to destination space
   ✔ Connecting to space (1s)
   ✔ Importing Locales (1s)
   ✔ Importing Content Types (4s)
   ✔ Publishing Content Types (3s)
   ✔ Importing Editor Interfaces (3s)
   ✔ Importing Assets (7s)
   ✔ Publishing Assets (3s)
   ✔ Archiving Assets (1s)
   ✔ Importing Content Entries (1s)
   ✔ Publishing Content Entries (5s)
   ✔ Archiving Entries (1s)
   ✔ Creating Web Hooks (0s)
Finished importing all data
After this step we can finally run the project and see the result in http://localhost:8000/ 😃
yarn start
Screenshot and Design
As the starter is a SPA it only has two routes:
/: main page with the sections ofHome,About me,ProjectsandWriting./404: error page for unexpected route.
| Section | Screenshot |
|---|---|
| Home |  |
| About me |  |
| Projects |  |
| Writing |  |
| /404 |  |
Building your site 📦
As we are dealing with environment variables, the .env file is excluded from .gitignore file. Therefore, in order to deploy the website you have to send SPACE_ID and ACCESS_TOKEN with the build command.
SPACE_ID=xxxxx ACCESS_TOKEN=yyyyy yarn build
The result will be stored inside the public folder, so you can upload to your webhost. I highly suggest using this starter with Netlify when you can define which command will build the project and also send the environment variables inside the website configuration.
Adding your information 📝
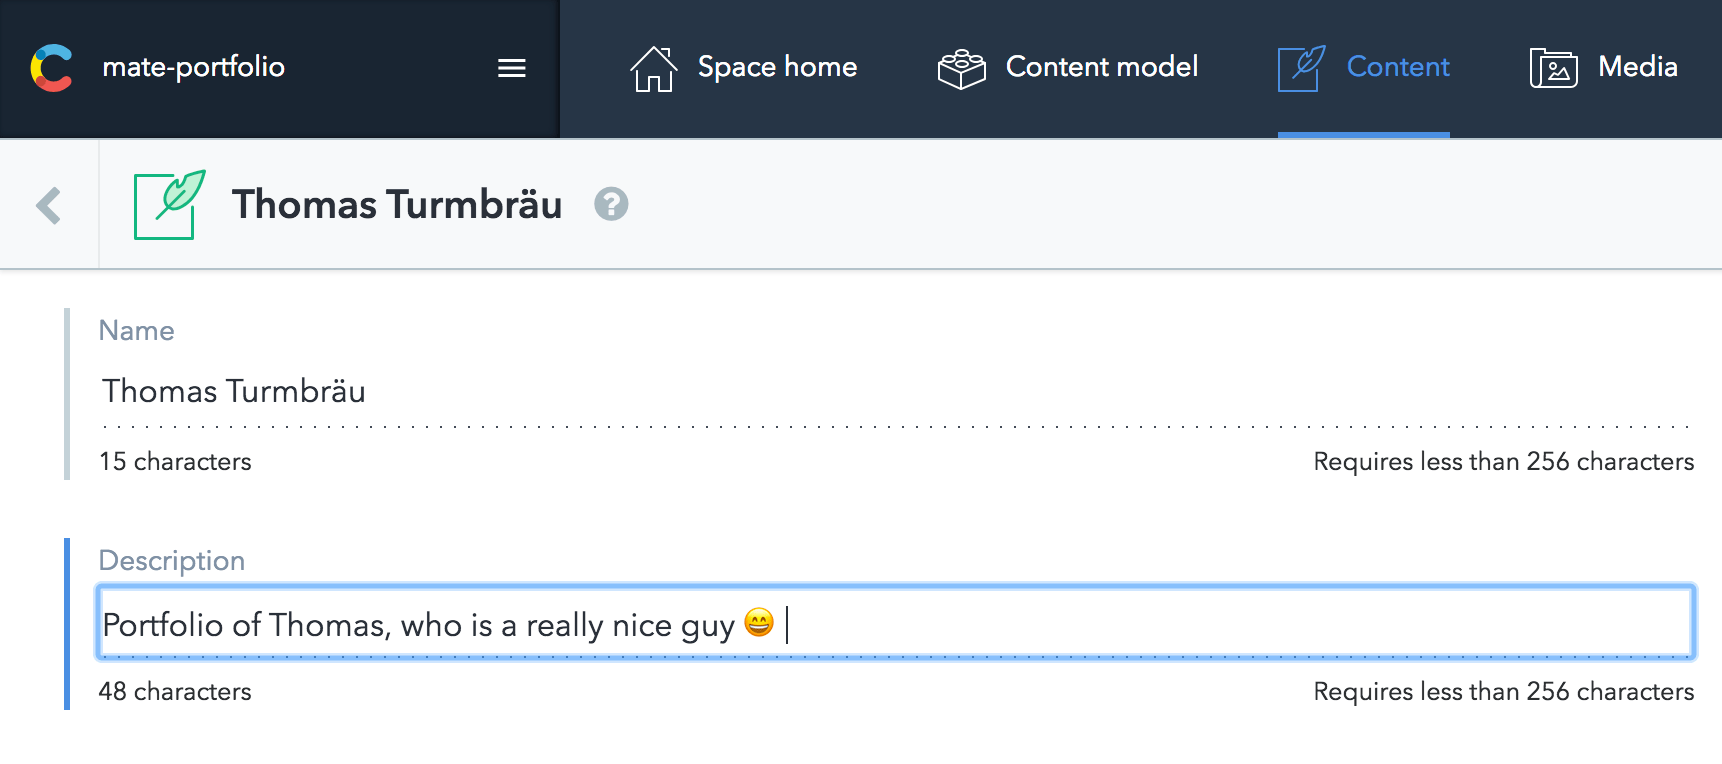
All the text of this starter live inside Contentful, more spefically inside the Content of About. In order to change it, just go to Content section and change the entity of About with the information you want.
Regarding the projects and social links the process is the same! Contentful is really easy to learn so don't be afraid of breaking everything, remember that you can restore to the start point by running yarn setup 😄
Configuration (Optional) 👷♂️
Mate starter is a SPA (Single Page Application), so basically you have only two pages:
- Main.js (portfolio itself)
- 404.js (nice 404 error page that match the style)
The structure for the main page is the following:
<Layout>
  <Landing />
  <About />
  <Projects />
  <Writing />
</Layout>
Layout is the core of the application, it manages the theme for the application, the navigation between sections, also it defines the header.
All the components inside Layout are Section components. A section can have a link inside the Header or not, in order to add you need to wrapped the exported Section with withNavigation HOC and it will be automatically registered (Context magic ✨).
Tracking with Google Analytics (Optional) 📈
This starter has the analytics plugin inside the gatsby-config, so the only need to do in order to enable it is to provide the Tracking Id for your site (starts with UA-). Just set a new variable inside your .env file called ANALYTICS_ID and analytics wil be turn on automatically 😄
Update your Starter (Optional) 💡
In case you cloned this repository before and you want all the latest changes of it, you can execute the following command to update the code in your repository with the one in this repository:
# Add repository remote entry
$ git remote add mate https://github.com/EmaSuriano/gatsby-starter-mate

# Get changes from master branch of gatsby-starter-mate
$ git pull mate master --allow-unrelated-histories

# Reset changes in unnecesary folder/files
$ git reset media/ bin/ README.md manifest-config.js

# Remove files affected by the reset
$ git checkout .

# In this step you migth need to fix a lot of conflicts, you can do fix manually or use just accept all the changes from mate
$ git checkout --theirs .

# WATCH OUT that some configuration can be overwritten in this last step, like package.json, colors, etc. I highly recommend to do an overall look up at the end of fixing the conflicts.

# Install in case there is any new dependency added to the starter
$ yarn

# Build the project to see if everything is working as expected
$ yarn build
Deployment Automation (Optional) ⚙️
Everytime you made a change in your Contentful data or you add a new post in Medium you need to trigger a manual deployment, which can be an annoying task. Therefore I found a nice way to make this process automatic and it is by using a tool called Zapier.
This tool will be watching for changes in Contentful and Medium and then trigger a new deploy in Netlify (or the service you are using). In summary, you don't need to care anymore about deploying your application and can focus on writting content or developing features!
In case you want to know more I wrote an article in Medium that explains the whole process especially for this starter 🙌 Click here to read it.
UPDATE: Contentful added a feature to link it with Netlify as a built in option, but in case you are using another provider I recommend going with Zapier!


